The Root Canal Procedure
Having just had the procedure, let me share what the experience was like.
If you or someone you know was recommended getting a root canal by a licensed orthodontist, then hopefully this article will answer your questions.
Having just experienced first-hand getting a double root canal, I feel I’ve gained enough insight and wisdom (pun intended) to share my experience with the procedure (start to finish).
This will be an ongoing series (I hope), since this is only day zero since the procedure happened. I plan to update as needed, and hopefully the updates will be void of any suffering.

The recommendation from my regular dentist broke the news that I would need a root canal to save my smile. And not just one root canal, but two root canals. I’ll spare you the details of how I got myself into this situation, but you can surmise that it wasn’t without some level of neglect on my part.
My dentist recommended a specialist that does these types of procedures literally every day, so to minimize the length of time for the procedure. Having my general questions answered, I agreed to schedule an appointment with said specialist. Whatever you do, if you’re in a similar situation, don’t research root canals on WebMD. In actuality, do research WebMD to answer what happens if you do neglect your teeth further. Basically I scared myself silly, which cemented my determination to get the procedure.
In summary: If you need additional motivation on why you should not procrastinate further, see WebMD on what bad things will happen. (WebMD)
Some bad things that could happen would be a serious medical emergency if the infection reaches your gums. Your face could swell-up and block your ability to breathe. In any event, I opted to have both the consultation and procedure on the same visit.
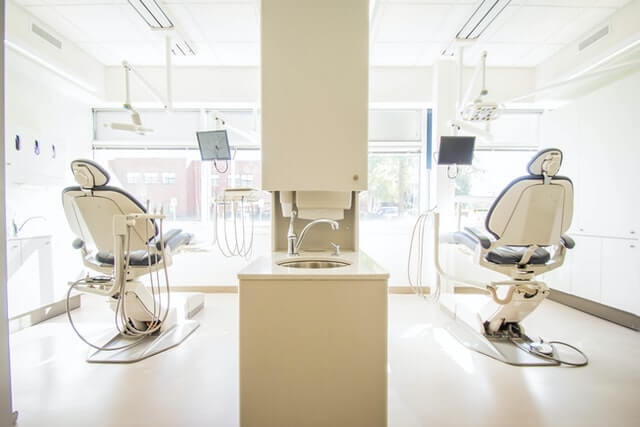
Lets fast-forward to this morning. I show-up and complete paperwork as with any other first time visit to doctor. The procedure starts with the area being numbed with a gel like substance that the dentist applies with a q-tip. The substance sits pressed against your gums for a few minutes. I may accidentally ingest a tiny bit of spit containing said gel. My tongue went slightly numb. The numbed area then is further anesthetized by injection. Thanks for the numbing gel, the injections weren’t felt in the slightest. Several injections later, and we have to wait for the anesthesia to fully kick in.
To be perfectly honest, my eyes were closed for 90% of the procedure, but thankfully the dentist gave perfect commentary on what step of the procedure was on, and what overall percentage of completion we were on.

The tooth being worked-on is fully isolated from the other teeth with a type of funnel that starts with a metal ring in the center, and continues out with a type of rubber. You know how in those operations on TV where they have the patient covered in blue cloth except for the place being operated on, it was similar to that. This rubber funnel keeps bacteria from being introduced into the tooth being operated on. The sound of the crown on your tooth being removed with what could be described as a mini power drill, all without any pain can be credited to the miracle of the anesthesia. From there I believe any cavities and bacteria are completely removed first, then the tooth’s root. A material is used to back-fill the void, and then a filling is installed to seal the area.
For anyone wondering what the device earlier was called, it’s a “rubber dental dam”. If you’re interested in seeing what they look like, see here.
Throughout the procedure I didn’t feel pain, and the only real thing to keep in mind is removing any saliva that pools in the back of the mouth. Finally, they use a device that heats and cures the material they used to seal the opening. You could feel a slight warmth on your lips, but not on the tooth itself. Before and after the procedure x-rays were taken. Also, another round of x-rays were taken again when my dentist wanted to make the filling a little thicker. He also checked the impressions my bite marks made on a piece of cardboard with dye, just to make sure my repaired tooth was playing nice with its neighbors.

All in all, the procedure didn’t take more than an hour, and this was having the procedure done on two teeth. I was prescribed something equivalent to Advil, and an antibiotic to take 6-8 hours apart, respectively.
The one downside is the first hour after the procedure your mouth is still numb and puffed-up where the tooth (or teeth) were located. I found stocking-up on protein shakes a blessing not having to chew anything for those first two hours. Currently, at 2 hours after the procedure, the sensation of my lips is coming back, and slight discomfort, but everything seems according to what I was told.
Hopefully this gives you an idea of what to expect, or what to tell someone to expect if such a procedure is needed. Yes, this could be avoided, and yes that’s a story for another time. Next, would be to schedule an appointment within a week to have temporary crowns installed. Thanks for reading!